So before you go all goo-goo-gaa-gaa on me after reading today’s title, let me tell you how I was inspired to do this DIY.
- a pair of open toed sandals that are a snaked skin print {open toed if possible}
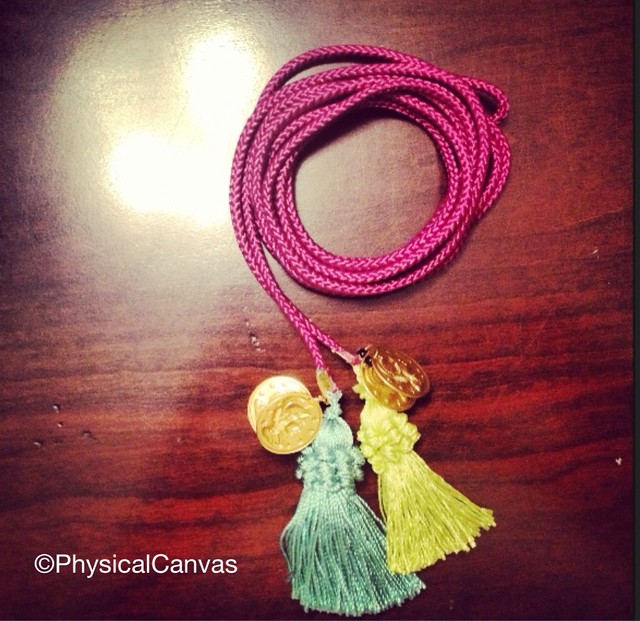
- 4 different coloured tassels
- 8 gold coins
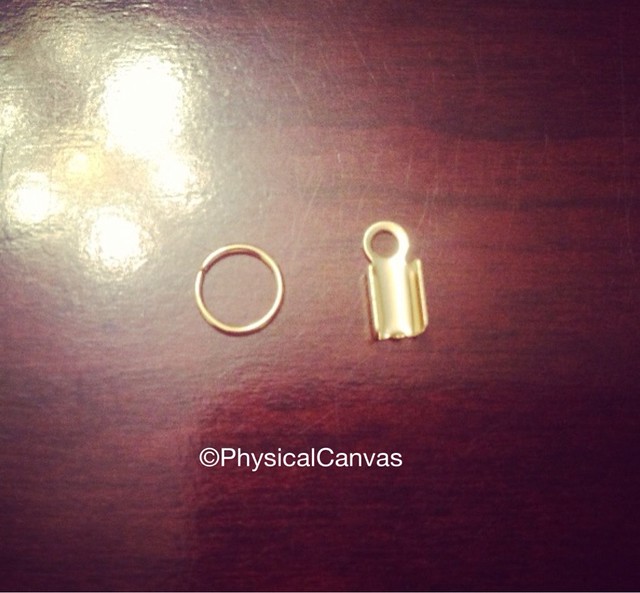
- 4 gold end crimps
- 4, gold 7mm rings
- 2 yards of lavendar cord for the ankle
- pilers
Purchase your tools

Prep your first tassel by opening the ring and looping it right into the top of the opened crimp. Don’t close the ring yet….
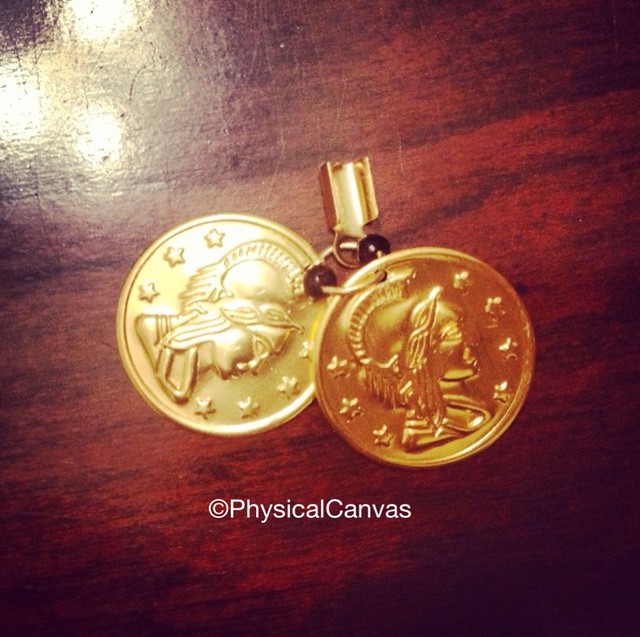
Now add to the ring two gold coins, separating the pair with a small bead {read below as to why this is important}. Now close the gold ring with pliers.
Step 4
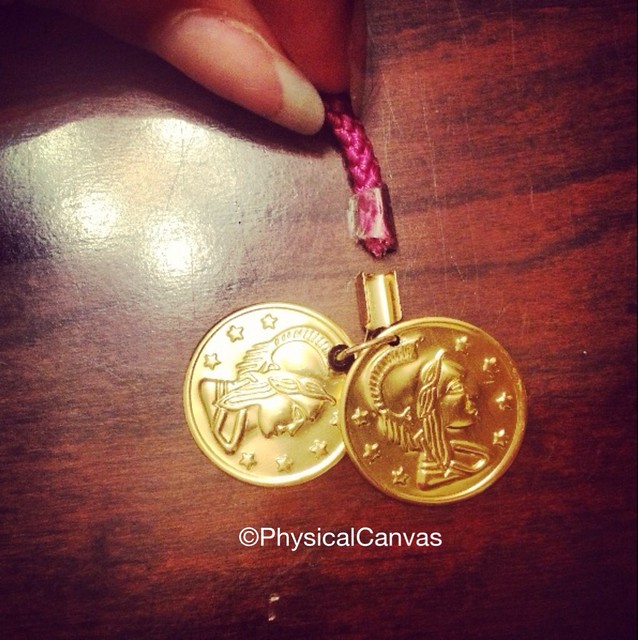
Grab your cord, and cut the 2 yards of cord in half so that there is 1 yard of cord for each leg. Take the first cord and insert one end into the crimp {as shown below}. The tape is from the store, but feel free to dab a little hot glue on the end of the cord to prevent fraying while you’re working with it.
Step 5
Add both the teal and the lavendar cord into the crimp and cut the other teal tassel. Then pinch the crimp tightly shut {the tassel originally comes on a loop, so I clipped it at the top so that only one side would go into the crimp}.

Step 6
Repeat steps 1-5 to secure the remaining tassel to the other end of the cord.
Repeat steps 1-5 to secure the other two tassels on the ends of the second lavender cord.
Step 7
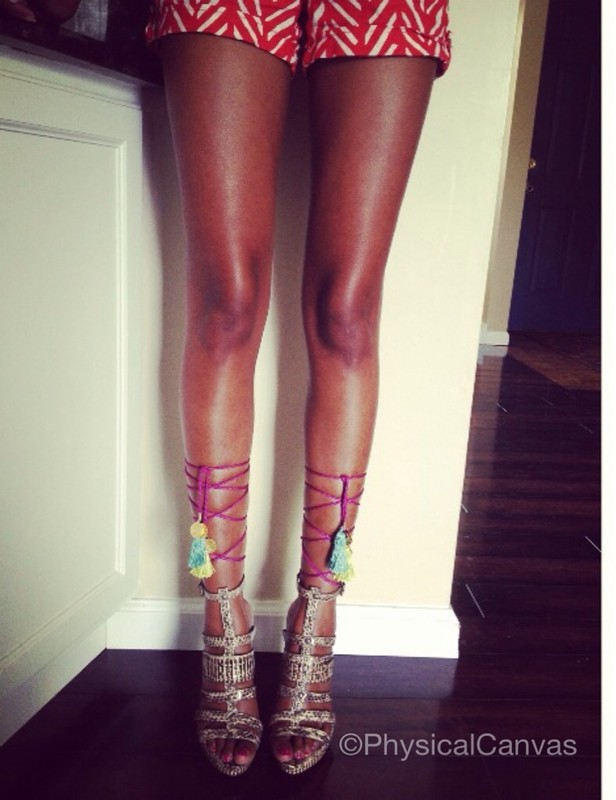
Wrap the lavender cords starting at the base of your ankle.